The whole premise of the book Wicked Good Burgers was to come up with the best way to make a burger. And the interesting thing we realized is – there is not one best way.
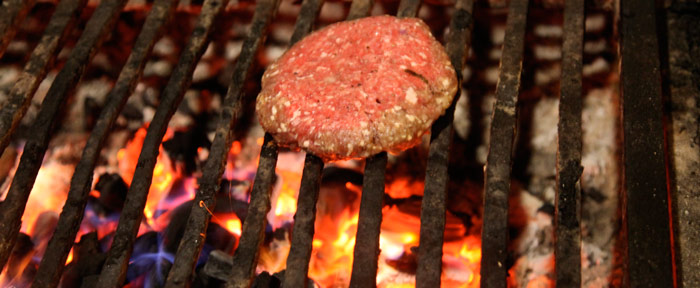
I’m a grill guy and I love a wood charcoal grill, and I thought that would be the best way. My coauthor Chris Hart loves a plancha or a skillet, and he thinks that’s the best way. We did a lot of tasting and made a lot of burgers and figured out that both ways are really, really good.
What we do agree on is no matter which way you cook the burger, there are some tried-and-true techniques that must be followed. We focus on three basic steps to making a wicked good burger, and within each step there are tips, tricks, and secrets.
Step 1. Procurement
Procurement of good-quality grass-fed beef is essential. Look for a beef-to-fat ratio of 80/20, although 90/10 is also acceptable. Grass-fed has no hormones and no antibiotics — with burgers, that taste difference matters. To me, it just tastes more rustic and natural. You can grind your own beef at home, too, and experiment with different types, like short ribs, skirt steak, brisket, flank, and whatever you want, really. Trying lots of different types of meat will help you hone in on the burger that you like the best.
Try to handle the meat as little as possible and keep it as cold as possible when brought home. Keep the meat in the fridge, wrapped in plastic wrap, or even pack it on ice. It’s a good idea to wash your hands with very cold water before you start to shape the burger. Higher temperature of hands and even the temperature outside will break down the fat in the meat and can make it crumbly and dry.
To form the patty, start by making a loose ball and then push down the center, cupping the hand around the ball evenly until the patty becomes flat and even. An even patty ensures even cooking. Once the patty is shaped, take two fingers and press a small dimple in its center. Meat is a muscle, and even though it’s ground beef, the meat will start to tighten, and then it will become bulbous like a golf ball. This divot counteracts that bulbous shape.
If the patty is saucer shaped, then it becomes dry, which means the first bite is going to be dry. And you want every experience to lead to another experience. But if the first bite is not good, then you may not even go for the second bite. So really make sure that it’s formed well.
Step 2. Cooking and Seasoning
Seasoning is really important. We have our Fifth Dimension Powder, and I swear by it. It’s all about umami. We created the seasoning to be added to the burger when grinding it and before cooking it. If you don’t want to add it, that’s OK. Season the patty with salt and pepper, too.
Like my mentor Chris Schlessinger says, “Whatever you’re going to do, just double it, because you don’t do it enough.”
Seasoning the burger well provides big flavor and that perfect bite.
Cooking the burger on high heat is a must. The grill or pan should be at 600 to 800 degrees Fahrenheit, and a good way to test is by using a bit of vegetable oil, which starts to smoke at 400-500 degrees. If using a pan, use cast iron. Cast iron retains heat well and has a short recovery time (the time it takes the pan to get back to its high temperature before the meat entered the pan). This high heat allows for optimal searing and caramelization. If the pan was turned to 10 to heat up, turn it down to 8 to cook the meat through. Play with the heat a little bit to figure out exactly what temperature is required, because you want it smoking and may want to turn up the fan and open the windows!
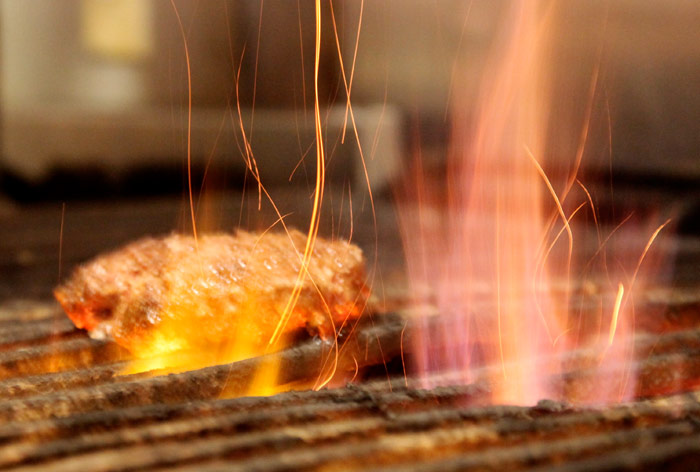
After about 3 minutes, or once the burger starts to develop a nice golden brown crust, flip it over. Don’t move the burger around a lot in the pan. Let it sear. And don’t flip it more than once. Knowing when the burger is done is key. A great tool to have in the kitchen is a Thermapen. It will accurately read the temperature of the burger in 3 seconds. Cook the burger to 5 degrees below the desired temperature, because when the meat is resting it will continue to cook.
Cooking Temperatures
- Rare — 120 to 125°F
- Medium Rare — 130 to 135°F
- Medium — 140 to 145°F
- Medium Well — 150 to 155°F
- Well — 160°F and higher (USDA Standard for younger children and elderly)
Step 3. Resting and Assembling
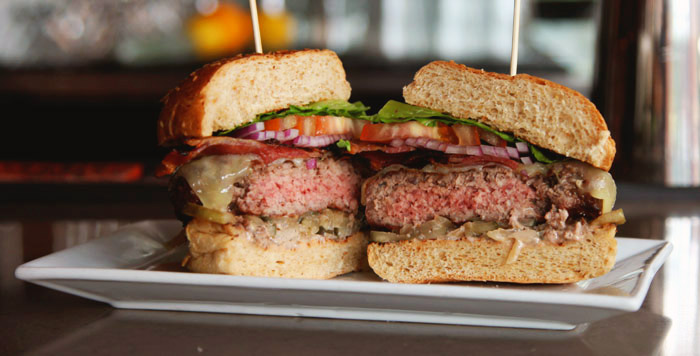
Remove the burger from the pan and rest it on a plate. Everyone talks about resting, but few home cooks do it. It’s important. If the burger is cut immediately after cooking, the juices will end up on the plate and not in the mouth. Resting allows the juices to redistribute throughout the burger and allows for the carry-over cooking that is essential.
As soon as the burger is resting on the plate, add cheese and cover the plate loosely with tin foil (tent it). Then, while the burger rests for 5 minutes, grill the bun and grab the condiments.
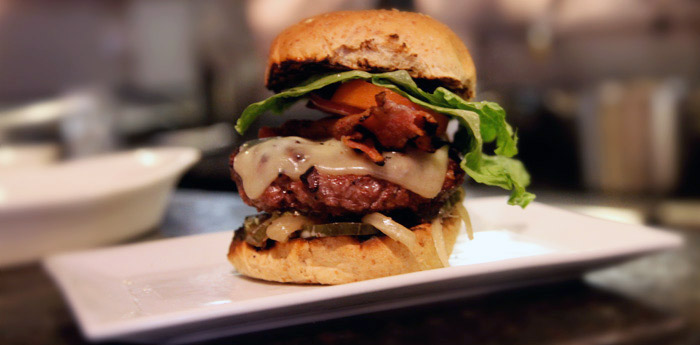
Finally, it is time to put it all together. What you put on your burger is all up to you. Sometimes a burger is greater than the sum of its parts, but make sure nothing overshadows any other ingredient. From the ketchup to the mayo (I truly believe the Best. Mayo. Ever. is worth making), from killer toppings to the bun, the burger has to all work together.
Add some fries and a thick, cold drink, and it satisfies just about any craving. Made right, it’s better than good. It’s Wicked Good.
Five Expert Tips for a Wicked Good Burger
- Form patties with cold hands
- Place a divot or thumbprint in center of formed patty
- Use high heat on any cooking surface, 600 to 800°F
- Use a Thermapen to test for doneness
- Let the burger rest for 3 to 5 minutes after removing from cooking surface